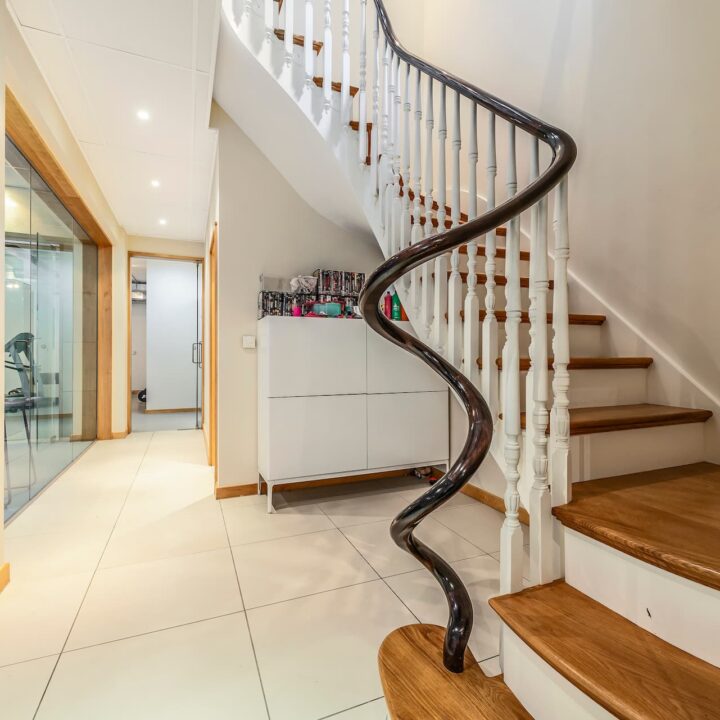
Staircase Fitting
Timberstaircases.com highly recommend that a qualified joiner should fit your staircase. However, we always say that if you can lay a floor for example then you can definitely fit a pre-assembled staircase and so we fully encourage DIY enthusiasts to attempt the staircase fitting task themselves if they are able to do this. This is a guideline to fitting the staircase :
Basic Procedure To Fit Your Staircase
1. Check critical dimensions before proceeding:
a) Check well size is as per plan.
b) Finished floor to finished floor dimension.
c) Overall width of staircase.
2. Always fit your staircase from top to bottom.
3. Cut the top newel to fit onto trimmer.
First cut out the top newel to fit onto the trimmer. DO NOT fix the newel at this stage.
Put the riser temporarily into position. Scribe line the thickness of the riser to determine the depth of the saw cut.
After marking your line, allowing for the thickness of riser, make saw cuts with a cross cut saw for easy removal with a mallet and chisel.
Using a mallet and a chisel, remove slithers of cut wood to leave a recess to fit onto the trimmer.
4. Cut the bottom newel to the correct length.
Cut the bottom newel to the correct length. If the floor is not level it is possible that the newel may differ in length. Newels are always delivered longer to allow for this.
Fit and glue the bottom newel onto the string. The dowel holes are drilled slightly off-centre to pull the newel and string tightly together.
Taper the dowel slightly for easy insertion. Once the piece is pulled up tight, cut off the excess dowel and sand back.
5. Fit Bottom Riser.
With the bottom newel fitted, slot the riser into position and mark the bottom riser in line with the bottom of the newels.
You can now fit the riser into position by screwing into the riser and then newel, also use glue.
On the string side the riser needs to be kept in place with a wedge.
Please ensure that plenty of glue is applied to both edges and the inside face of the wedge.
Tap the wedge firmly into place and remove any excess glue with a chisel.
6. Fit The Glue Blocks.
View looking underneath the staircase, showing glue blocks.
The majority of these blocks will already be glued on your staircase.
Once the bottom riser is fitted the blocks will need to be fitted.
We recommend about 3 or 4 blocks per tread.
Use plenty of glue and when positioning the blocks, move back and forth to remove all the air and pin the glue blocks in place with either panel pins or use a Brad gun.
7. Fit The Top Newel.
Fit the top newel using glue and dowels.
Glue and dowel top newel onto strings.
Taper dowels slightly for ease of entrance.
Tap snugly into place with a mallet.
Cut off excess dowel and sand back.
Use plenty of glue.
8. Fit The Top Riser and The Top Nosing.
9. The Staircase Is Now Ready To Be Put Into Place.
When you are sure it is in the correct position, check the stairs for level.
Secure stairs by fixing to wall.
Place staircase into position ensuring the treads and risers are level – use a spirit level to check.
When the staircase is in the correct position fix it to the trimmer and wall at several locations.
10. Fit Base Rail On To The Rake Of Stairs.
11. Fit Return Handrail Apron, Nosing and Cover Moulding.
12.Fit Spindles and Infill Pieces.
Please note – These tips are only a guideline and fitting different styles of staircase may vary from the above.
Timberstaircases.com sell staircases in all shapes and sizes but remember if you have any questions please do not hesitate to contact us about your staircase choice. You can telephone us on01279 598 520.
Why not check out our Online Staircase Builder